The Mashup Map feature in WPForms Geolocation allows you to display multiple form entries as markers on a single interactive map. The feature retrieves geolocation data from Geocoder Fields within your WPForms, making it easy to visually showcase user-submitted locations.
Whether you're mapping business locations, event check-ins, or service areas, the [wpfrmgeo_mashup_map] shortcode provides an efficient way to generate a customizable and dynamic map.
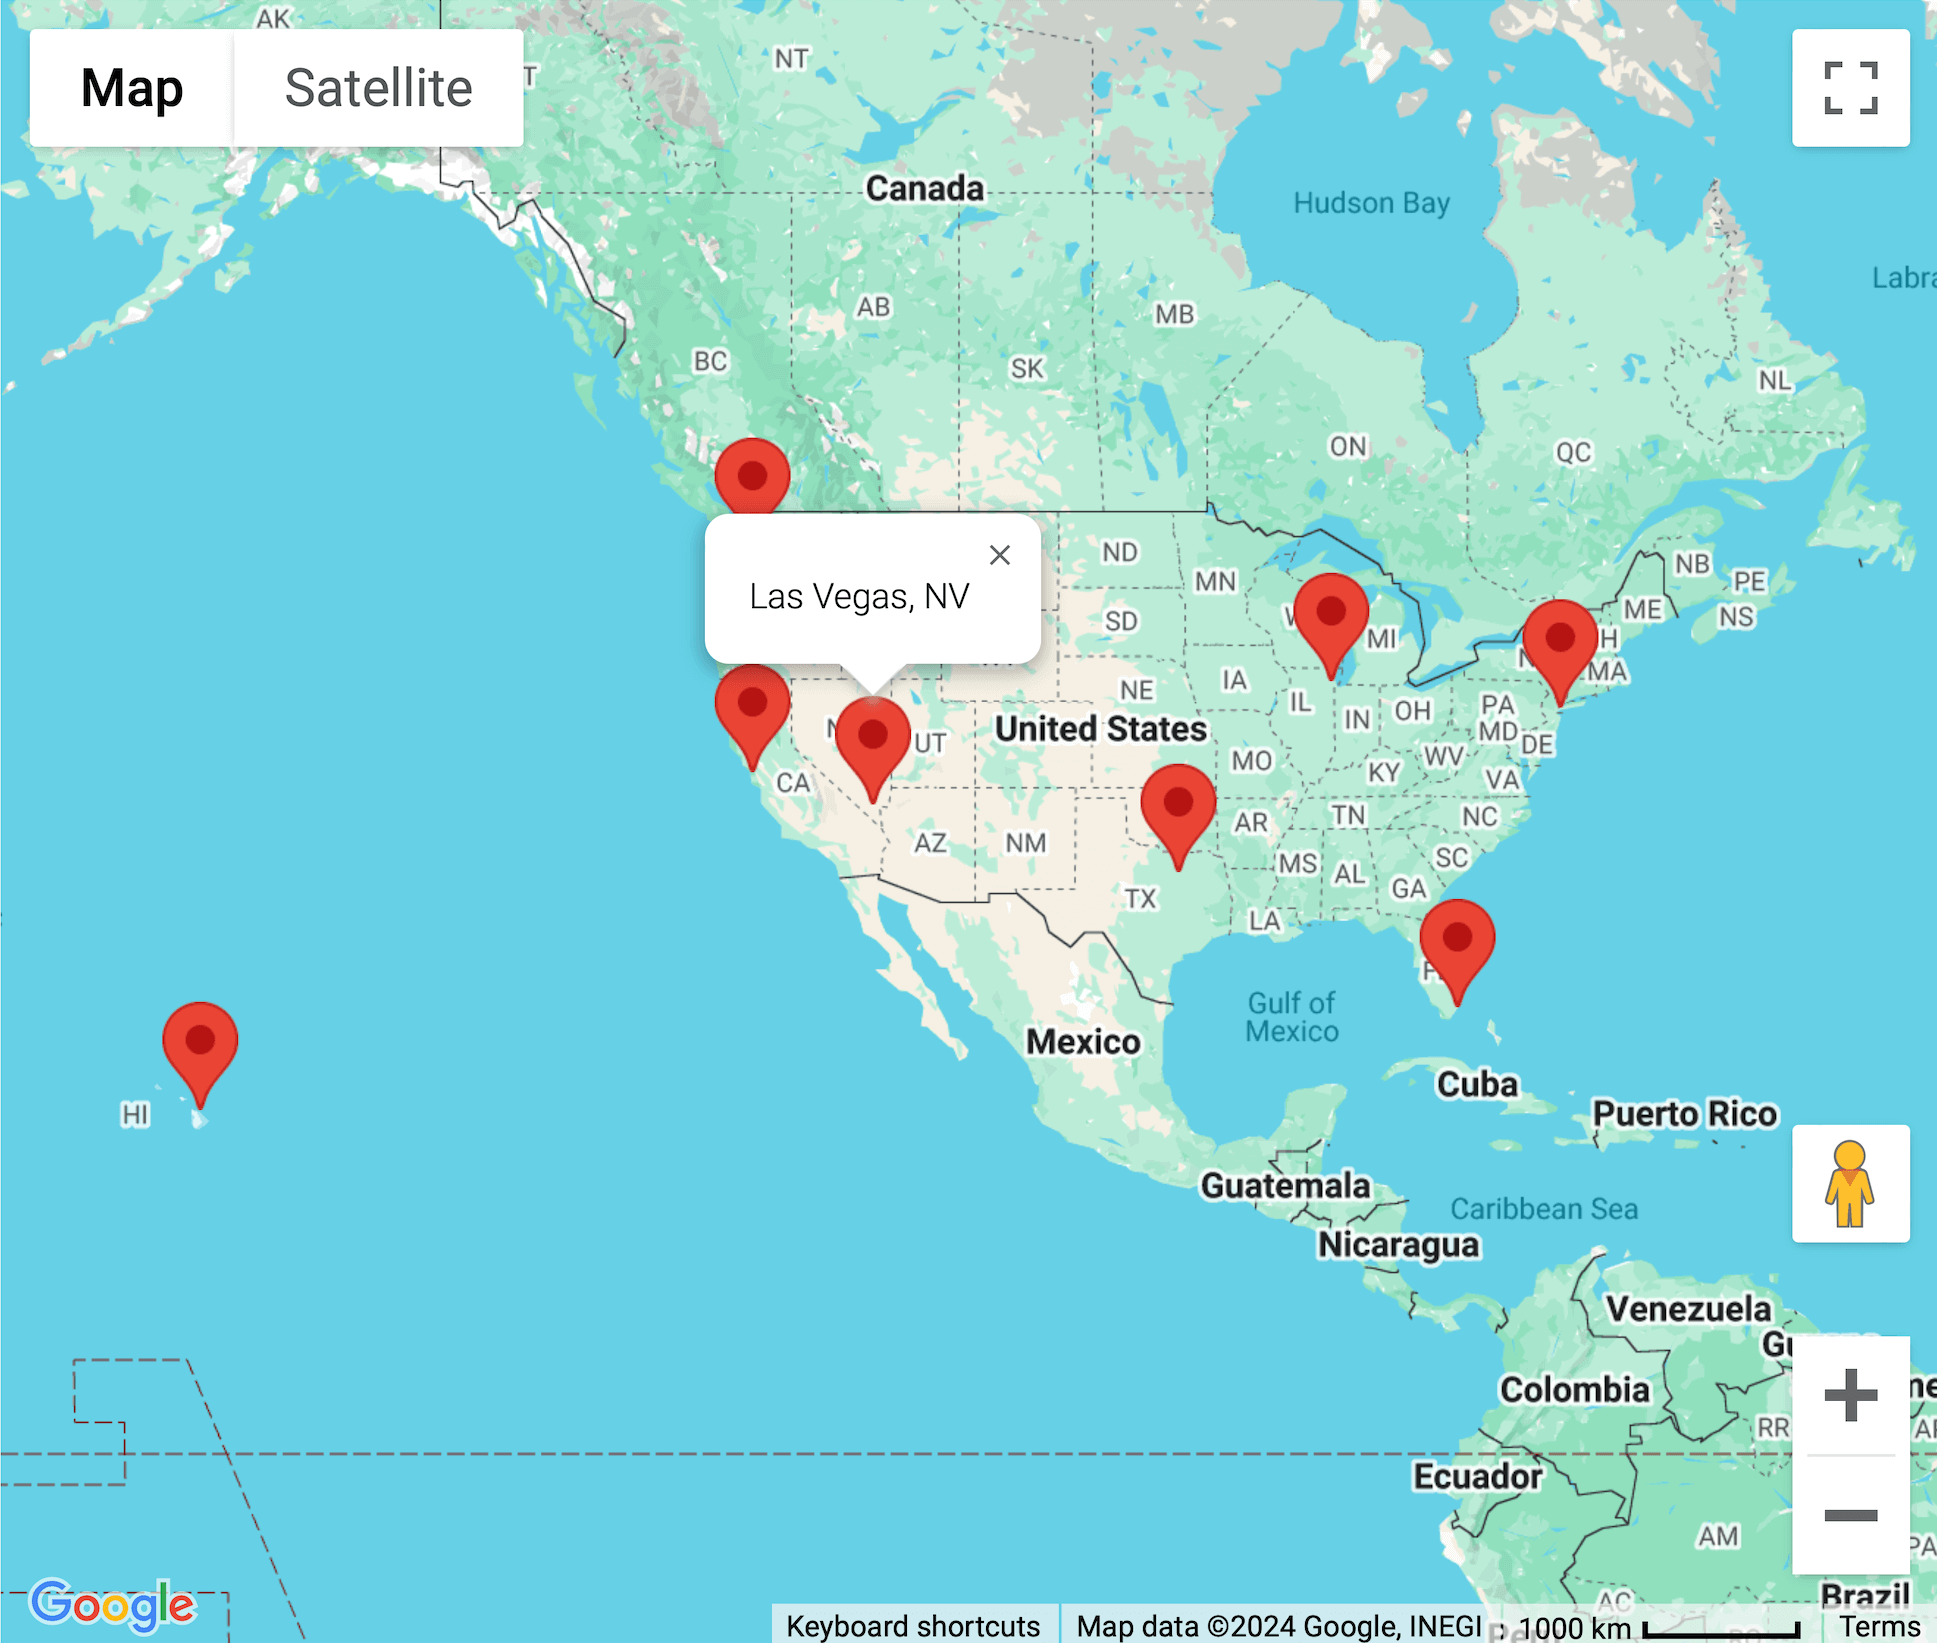
Configuration options for the Mashup Map.
Shortcode Attributes for the WPForms Mashup Map
The following shortcode attributes allow you to customize how the Mashup Map appears and functions:
1. form_id
Specify the ID of the WPForms form whose entries should appear on the map.
Example:form_id="1"
2. include_entries
List specific WPForms entry IDs to display. By default, all entries are included ( Cannot be used with the exclude_entries attribute ).
Example:include_entries="101,102,103"
3. exclude_entries
Exclude certain form entries from appearing on the Mashup Map. By default, all entries are included.
Example:exclude_entries="105,106,107"
4. geocoders_ids
Specify the Geocoder field IDs to include in the map, separated by commas. By default, all Geocoder fields from the form will be included.
Example:geocoders_ids="1,2,3"
5. map_height
Set the height of the map display (e.g., 300px, 100%).
Example:map_height="400px"
6. map_width
Set the width of the map display (e.g., 100%, 600px).
Example:map_width="100%"
7. map_type
Choose the type of map displayed.
Available options:roadmap, satellite, hybrid, terrain
Example:map_type="satellite"
8. entries_count
Set the maximum number of entries to display on the map. The default value is 500.
Example:entries_count="200"
9. scrollwheel_zoom
Enable or disable zooming using the mouse scroll wheel. Set to 1 to allow scroll-wheel zooming or 0 to disable it.
Example:scrollwheel_zoom="1"
10. map_markers
Set a custom map marker for each Geocoder Field by specifying the Geocoder ID and the marker URL, separated by a vertical bar (|). You can assign multiple custom markers by providing a comma-separated list of Geocoder IDs and their corresponding URLs.
Example:map_markers="1|URL,2|URL,3|URL"
11. info_window_content
Define the content displayed inside the info window of each map marker.
By default, this displays the formatted address of the location. You can also specify one or more form field IDs to display their values, with an optional label.
formatted_address (default): Displays the full formatted address.
Field ID: Displays the value of a specific form field.
Field ID | Label: Displays the field value with a custom label.
Multiple fields: Use a comma-separated list to display multiple values.
Examples:
info_window_content="formatted_address" (Default: Displays full address)
info_window_content="5" (Displays the value of field ID 5)
info_window_content="5,10" (Displays values from field IDs 5 and 10)